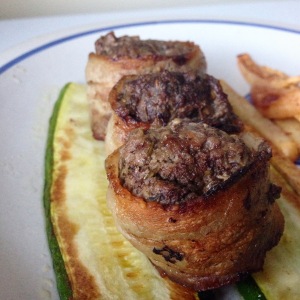
Surf & Turf Stuffed Summer Squash (Paleo, AIP, LowFodmap, 21DSD)

I am starting to feel myself again after having some time off from one of my jobs and from weightlifting. Not to say those were the issues but it has given me some time to really reflect on things and organize my life. This morning at physical therapy I was finally able to play with a barbell again and given the “OK” to add some lifting back in! I plan on taking my time and really focusing on improving my form, technique, stability and mobility so I don’t end up back where I started. Every time I injure myself I take it as a learning experience and use it to grow stronger and more aware of my body’s capacity. I tend to get so wrapped up my goals that I overlook smaller details in my training that need attention. This past week was quite humbling and a good reminder that I am still recovering from years of being sick and treating my body like crap. Rome wasn’t built in a day, and having strong foundations inside and out is without a doubt the most important. 

I won’t bore you with too much blabbering about myself today, but stay tuned for an update of my bio within the next week or two. I left it with a little bit of a cliffhanger because I wasn’t sure that I was ready to share my full story at the time. But after the loss of a friend who was a big influence on my life and ultimately some of the reason why I am where I am today, I feel compelled to share in hopes that it might reach some people that are struggling or have struggled with the same issues that I have and give them a glimmer of hope.

Anyways, to lighten up the rest of this post lets get to the recipe! This is based off of my all time favorite recipe from the 21 Day Sugar Detox . If you don’t own the books or haven’t tried the detox, you need to! I can honestly say that through many years of being Paleo I always continued to struggle with an addiction to sugar. It’s one of those things that is INCREDIBLY hard to shake, probably harder than smoking although I’ve never smoked so I can’t compare personally, but the withdrawals are real! Once you realize that you don’t need sugar for energy, your body can start to fuel itself properly and you will get a whole new and sustainable level of energy!

Ingredients:

  • 4 large zucchini or summer squash
  • 1 TB. cooking fat (I used coconut oil)
  • 1 celery stalk, minced
  • 1 medium carrot, shredded
  • 1/2 medium onion, diced
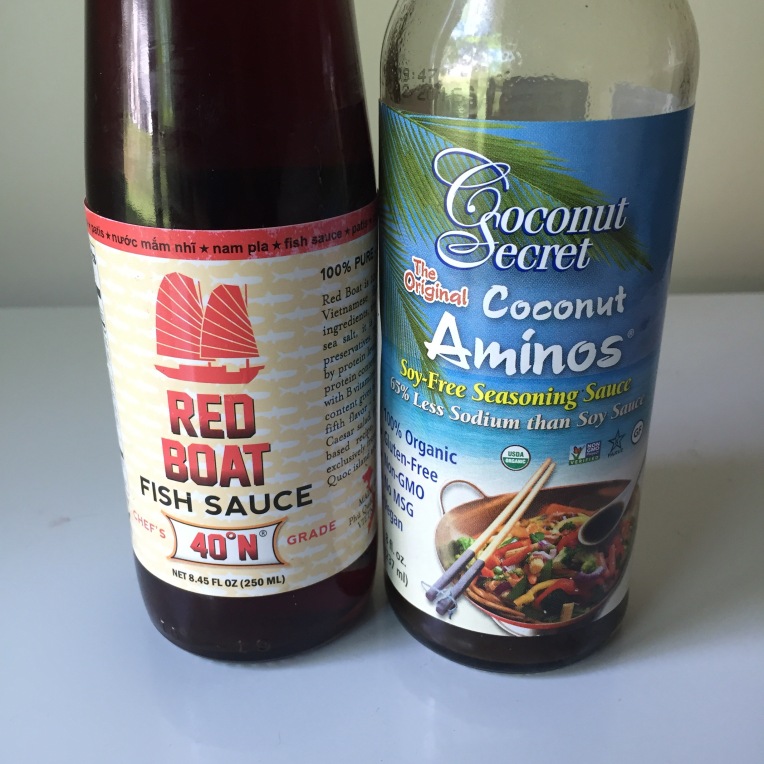
  • 2 TB. coconut aminos
  • 3-5 drops fish sauce 
  • 1/4 cup scallions, diced
  • 1 cup shrimp, peeled, deveined and minced
  • 1 lb. grass fed ground beef
  • 1 tsp. fresh ginger, minced
  • Sea salt and black pepper

Instructions:

-Preheat oven to 350 degrees

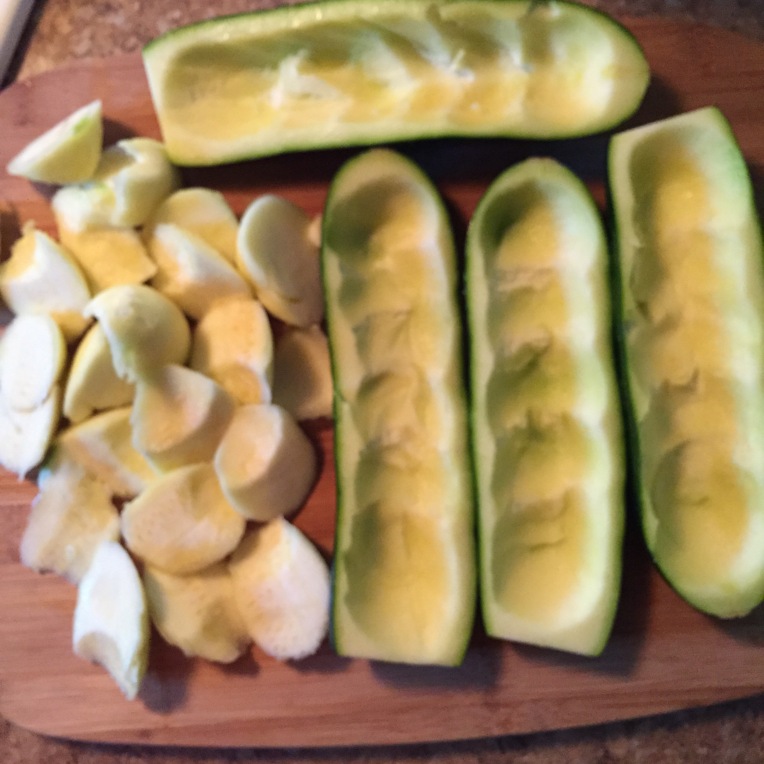
-Cut the squash in half and use a spoon to scoop out as much of the insides as possible (the more you scoop out the more room for stuffing!!)


-Place the squash face down on a rimmed baking sheet and cook for 25-30 minutes (depending on thickness) until they are easily pierced by a fork on the inside

-While the squash cooks, melt the cooking fat in a large skillet over medium heat 

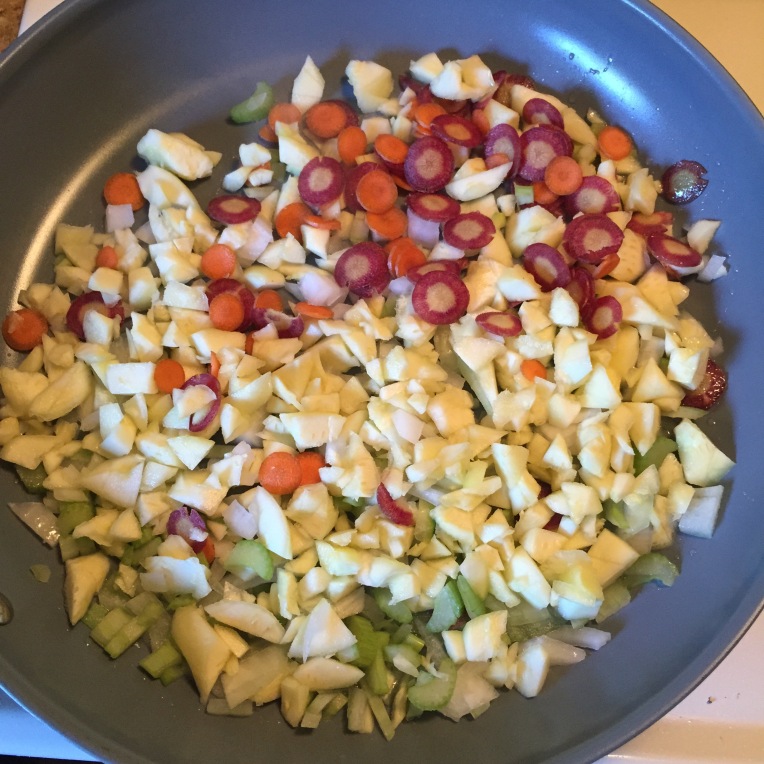
-Dice the remaining squash and add it to the skillet along with the onion, carrots, celery, coconut aminos, fish sauce, salt and pepper


-Satuee veggies for 5 minutes then add minced shrimp, ground beef, minced ginger and scallions to the skillet

-Continue cooking until the shrimp are pink and the ground beef is browned
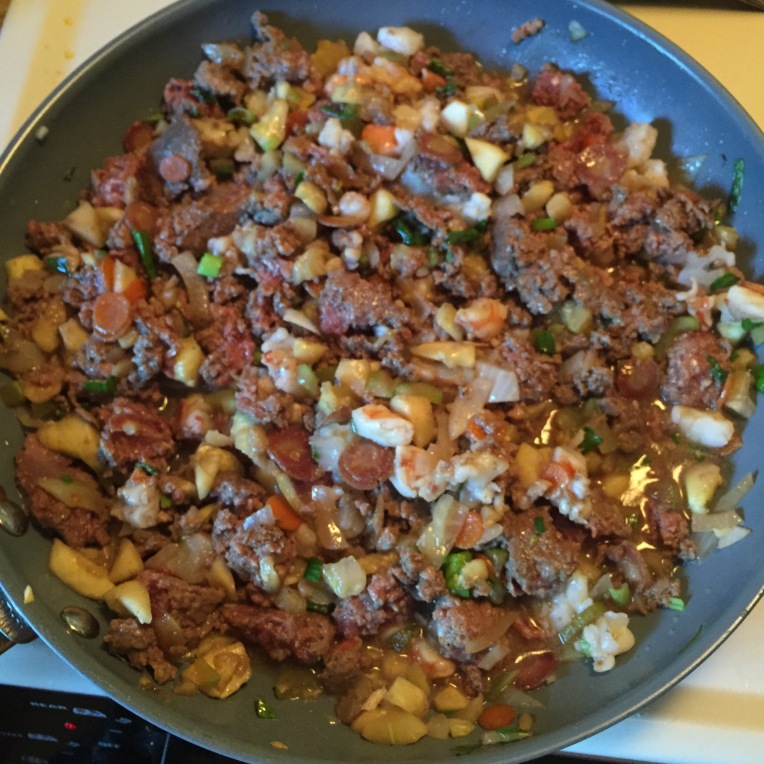
  
-Remove squash from oven when fully cooked and flip them over on the pan

-Stuff each squash as much as possible! Then broil them in the oven for 2-3 minutes until they are nicely bribes in top

-Garnish with a drizzle of sesame oil and some more diced scallions and enjoy! 
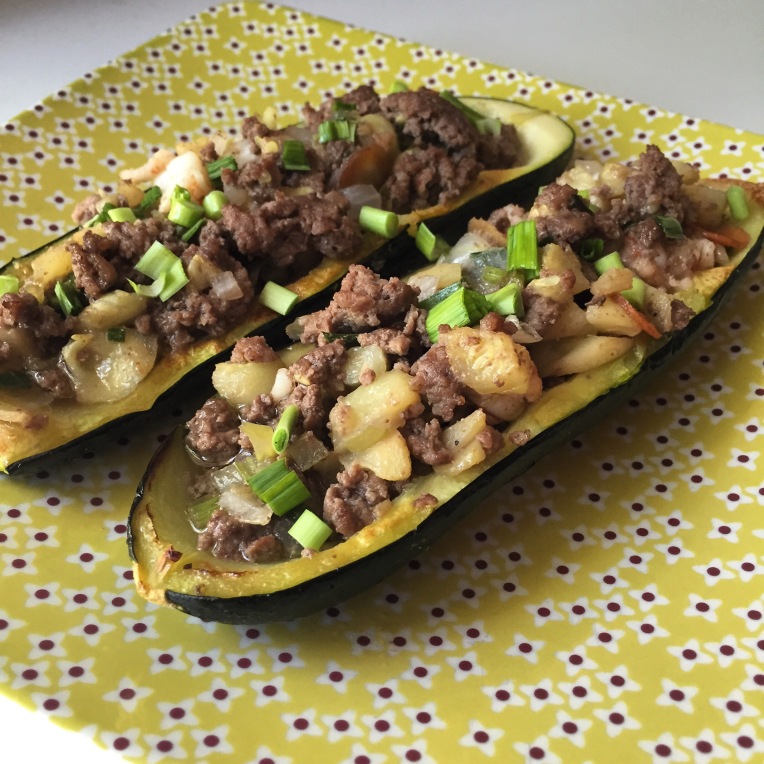
  
Notes: The recipe in the 21 DSD cookbook is called “cabbage-wrapped dumplings”. Diane gives a recipe for a delicious sauce to top these with but I will keep that a secret… Grab the book to find out!😜

Also- to make this lower FODMAP leave out the white onions and add more scallions. 

    Blueberry Gummies (Paleo, AIP, LowFODMAP, 21DSD)

    I apologize for being so behind in my blog posts lately! I have had to put more time into reducing my stress levels again lately as they tend to creep up when I over-commit myself to things. Once again I like to think that I can “do it all” and I sure can, but it comes with a cost which is usually a decline in my health. Anyways, I won’t bore you with details from my fitness updates today but overall things are going well. I have a slight stability problem in my right knee/ankle that is causing some inflammation in my knee but I am actively working on figuring that out, I will likely head back to my friends at ProEX Physical Therapy to strengthen that issue. In the mean time my lifting is going quite well and I have been making progress everyday! No complaints there.

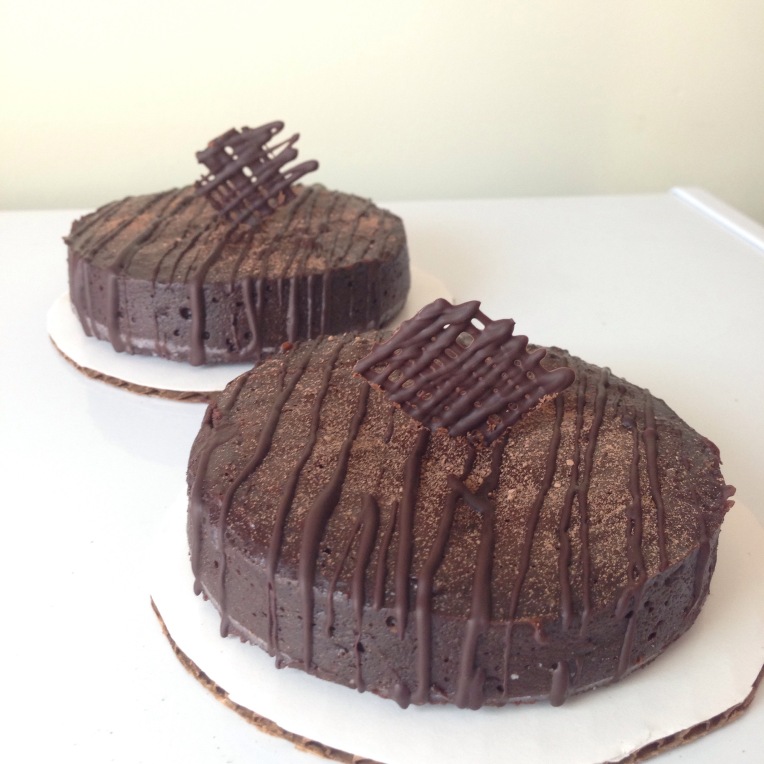
    In the Primal Treats and Eats realm I have been baking away for Mother’s Day! I had some mini-cake specials going on so that people could treat themselves as well as the mothers in their lives! I unfortunately will not be seeing my mother or my family this weekend because I will be working on Mother’s Day, but I did of course bake my mom something special and will celebrate with her the following weekend.

      
    Mini cakes! 

    Another positive note is that the weather in New England has been amazing!! I think we deserve it after that harsh winter… I got to enjoy it a little yesterday while hiking. 😊

      
    Views from the top of the Notch in Amherst.

    Now for the gummies!

    This is a great recipe that is super easy to make. After listening to the Glowing Skin Summit I got a swift reminder of the importance of gelatin, collagen, antioxidants, vitamin C, and many other nutrients that support skin health. Skin is the largest organ in the body and it has internal and external components. Skin serves to protect the body from external elements: it lets things that we need in such as sunlight to create vitamin D, and keeps out the toxins. Although in modern times the world we live in is a very toxic one. Our skin is exposed to chemicals and toxins throughout the day in our skincare products, shampoos, soaps, perfume, deodorants, detergents, and even in the air and water supply. It’s more important than ever to take a loot at your products and the ingredients in them and try your best to detoxify your life from these harmful agents. This may surprise you but all of these products can be made pretty simply! More info on that to come as I learn for myself how to create my own household cleaning products and find the best chemical and toxin free skincare products. For now I can share that Dr. Bronner makes a great multipurpose soap. Himalayan sea salt soap is all you need to clean and exfoliate the skin. And last but not least Dragonfly Traditions has amazing natural skin care products! 

    Ok, now I’ll really get to the recipe:

    Ingredients:

    • 1 cup organic berries (I used blueberries)
    • 1/2 cup fresh lemon juice
    • 4 TB Great Lakes Beef gelatin
    • 1-2 TB coconut water (optional)
    • 1-2 TB local raw honey (optional)

    Instructions:

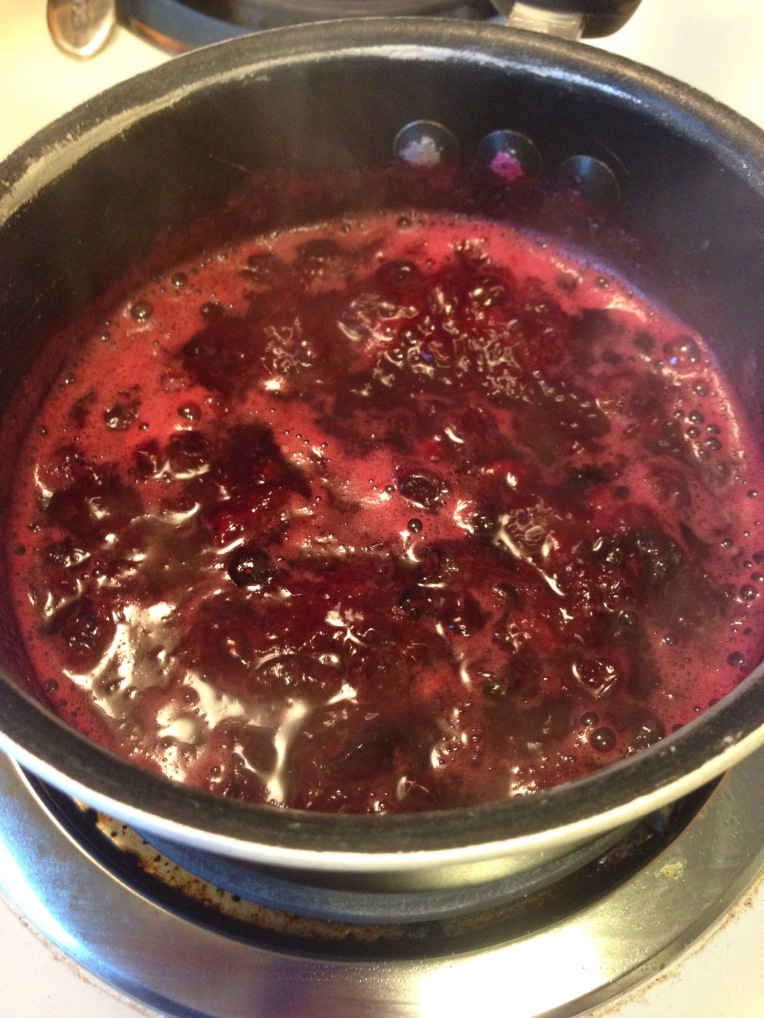
    -Add blueberries, lemon juice, coconut water and honey to a saucepan over medium heat

      
    -Cook, stirring occasionally, until blueberries have deflated and let the mixture is mostly liquid

      
    -Let cool for 1-2 minutes then add berry mixture to a blender with gelatin and blend unit smooth

    -Pour gelatin mixture into candy molds or into a glass pan

      
    -Pop in the fridge for an hour to solidify

    -Cut into preferred shape and size and enjoy one or a few daily!


    Chicory Coffee (Paleo, AIP, LowFODMAP, 21DSD)

    This week I have been in Eastern Mass working for my parents and tending to the house, cat, dog and horse while my parents are away. I have to say even though I have been busy as usual, it’s a different kind of busy. Taking care of animals and working in retail feels like a vacation compared to my life back home! Although I have changed a lot in the past 8 months to improve my lifestyle and reduce stress, I know that I still need to tweak some things that are impeding on my progress. In fact, my doctor sent me a scientific paper titled “Overtraining, Exercise and Adrenal Insufficiency” last week, that didn’t sit well with me. I wouldn’t say he was wrong, I know a lot about overtraining- but for me, the issue isn’t with exercise specifically, it’s simply doing too much, all the time, never stopping. I do prioritize my sleep and use acupuncture not only to keep my shoulder happy but also to relax. I guess practicing relaxation once a week for around an hour isn’t enough?! We’ll call this the first step: realizing that there is a problem that needs addressing.

    On the other hand, since I have been able to relax and my stress levels are pretty low at the moment- I have been feeling great. I haven’t had crazy food cravings, have been able to start losing the stress weight that I tend to hold onto when I am in overdrive for too long, my body has been recovering quickly from workouts and lifting, and the pain in my shoulder has been pretty sparse. Oh yah, and I also got my period again after being two weeks late. Sorry for the TMI but it just goes to show you how much you can really screw up your body processes when you don’t relax. Those who say “i’ll sleep when I’m dead”: with that mindset it will be sooner than you think, trust me.

    So, while I figure out the next steps that need to happen in order for me to keep my body balanced and happy, I do have a lot to look forward to the next few weeks. I am going to start up a new lifting program next week which I am thrilled about. Endurance comes pretty naturally to me but strength does not, so I plan on focusing on getting stronger the next few months in order to improve my overall athletic ability. Not to mention I love lifting. I may still be relatively new to Olympic lifting but I absolutely love the technicality of it, the room for constant improvement, the confidence that it builds, the list goes on. I also have been fortunate enough to have been able to learn a lot from Nikita who is an amazing coach and one day I hope to make him proud when I am a super strong lifter.  😉

    While reading this post you might think I am contradicting myself by saying I need more relaxing in my life and then throw in that I am starting a lifting program, but the truth of the matter is that I know what is causing the stress in life, and it’s not working out. While I am aware that lifting adds physical stress to the body, it also clears my mind, gives me something to look forward to, and releases endorphins that allow me to feel fulfilled. The kind of stress that causes adrenal fatigue (for me) comes from work and from over-committing myself to things. AKA I suck at saying no. I tend to pride myself on being able to get a zillion things done in a day and help everyone that I come across. While I do enjoy being able to do everything, clearly my body does not. I have some work to do in sorting out what can stay and what needs to go in my life, but the end result will be worth it.


    In other news: since I am still not allowed to have coffee (It’s not on the Autoimmune Paleo protocol), I have found this surprisingly similar alternative. I love coffee, not for the caffeine but for the taste. I also am surrounded by coffee when I am at work at Jake’s and find it to be torturous at times. While I haven’t had a problem swapping coffee out for tea or bone broth, I miss the savory robust coffee taste!

    I’m not sure why this took me so long to stumble across, mostly because I had no idea it existed until I heard about it on a podcast, but Chicory Coffee is a thing, and it’s quite delicious! I made some for the first time today after realizing that River Valley Market carries ground chicory root. So far I have also found that you definitely don’t need as much chicory grinds to make a great cup of coffee, its pretty strong! It also really DOES taste like coffee, I would say its more on the acidic side so I recommend adding some coconut oil, full-fat coconut milk, maybe even some ghee and spices. I personally prefer coconut oil, coconut milk and some cinnamon.

    So, If you can have coffee, why should you switch to chicory? Personally I think that the world relies a little too much on coffee and caffeinated beverages. If you are the type that needs a coffee in the morning or mid-day just to make it through the day, then you have something deeper going on that needs addressing. Your energy plummets due to lack of proper nutrition, being on the Standard American Diet blood sugar roller-coaster, or simply not getting enough rejuvenating deep sleep. Chicory is naturally caffeine free also has a number of health benefits including liver and digestive support.

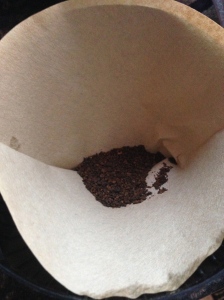
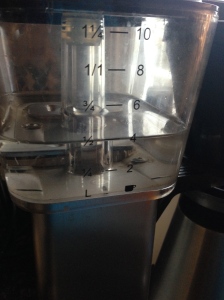
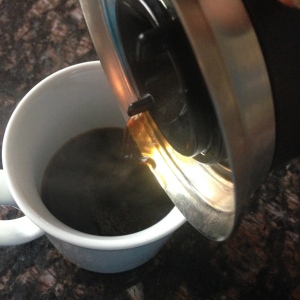
    How do you make it? Simple, the same way as you make coffee! Throw some chicory grinds into a filter, add water to your coffee machine, and let the magic happen! Remember, it’s potent so go I would suggest using half the amount you would normally use to make regular coffee. I use 1 TB. for 4 cups of coffee. I prefer it to not be that strong but you can tweak this to your desired taste.

    IMG_1015

    IMG_1017

    IMG_1026


    Then, add in whatever you would like, here are some suggestions:

    • 2 tsp. coconut oil
    • 1 TB. full-fat coconut milk
    • 2 tsp. ghee
    • 1/4 tsp. cinnamon
    • 1/4 tsp. ginger
    • 1/4 tsp. baking soda (Why baking soda? Check out this post)
    • 1/4 tsp. cacao powder

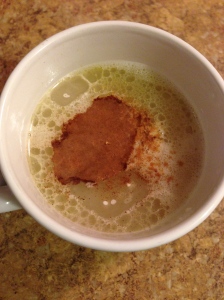
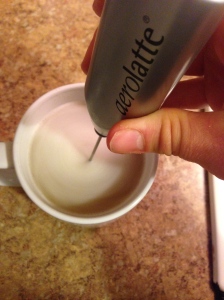
    Whatever combo you choose, blend it up after or use a handy frother and voilia! Delicious craft “coffee” that is AIP friendly!

    IMG_1027

    IMG_1028

    Hidden Liver Bacon Meatballs (Paleo, AIP, LowFODMAP, 21DSD)

    I hope everyone had a great Easter! I spent my day working at Jake’s and baking most of the evening. I did, of course, miss seeing my family and my boyfriend’s family but I plan to see them all another time soon! This past Saturday I had a great Primal Treats and Eats tasting at my home gym, Crossfit Iron Will. It was the last day of the Lurong Paleo Challenge and I was super impressed by everyones improvements and overall results. I love the paleo challenges because it motivates people to try paleo and stick to it for a certain amount of time. Obviously not everyone is successful in staying on track, but at the very least it helps people develop the skills to live a healthier lifestyle. I wish everyone would take these skills and continue on with the paleo diet and lifestyle after the challenges, but if they don’t then I hope they were successful enough during the challenge to see and feel the difference in their body when it is properly nourished. (Here’s where I will remind everyone that gluten remains in your system for about 14 days… if you can’t go 2 weeks without consuming gluten then you will never know how great your body can feel without it!)

    IMG_0765

    Here’s a shot of my setup at CFIW! I love being able to provide people with paleo treats! I do, however, know that treats are treats, and they aren’t meant to be binge eaten just like conventional processed crap. I take pride in making sure all of my treats have only the highest quality, organic, locally sourced (when possible) and nutrient dense ingredients. These are intended to be consumed as treats! They are perfect for special occasions, for a quick boost of energy, and as a reward for a long week of hard work. I bake them because I find that there aren’t many (if at all) good options for paleo treats, and they have become part of a modern lifestyle. I also happen to really enjoy creating beautiful, delicious and nutrient dense treats, and the same goes for meals. Paleo can be fun, interesting, exciting, and challenging if you commit yourself to it. It can also be pretty darn easy! It is what you make of it, and I hope that more people start to realize that you only have things to gain when you switch to a paleo lifestyle.


    Today I wanted to share this awesome recipe that I created to work on incorporating more organ meats into my daily life. Organ meats are some of the most nutrient dense foods out there, and it’s a shame that people get so irked by them! I love liver pate but I wanted to make a recipe that incorporated liver and could appeal to a larger group of people, including kids! I think these tasty bacon-wrapped meatballs might be the key, try it out and let me know what you think!

    Ingredients:

    • 2 lbs. grassfed ground beef
    • 3-4 chicken livers, diced into 1/4 inch chunks
    • 1 package of sugar-free bacon (if your having a hard time finding this try US Wellness meats or Pete’s Paleo)
    •  2. TB arrowroot
    • 1 TB. dried rosemary, finely ground
    • 1 TB. dried thyme
    • 1 TB. dried parsley
    • 1/2 tsp. himalayan sea salt
    • dash of freshly ground black pepper

    Instructions:

    -Preheat oven to 350 degrees

    -In a large mixing bowl combine all ingredients except for bacon and mix until well incorporated

    -Form meat mixture into 1 1/2 inch balls and wrap a half a slice of bacon around each

    -Place meatballs in a large rimmed baking dish, with the ends of the bacon slices tucked under the meatballs

    IMG_0584

    -Bake for 15 minutes, then flip and bake for 5 more minutes

    -Remove from oven to flip back over so the bacon is on top and turn oven to broil

    -Return meatballs to oven for 3-5 minutes until bacon is crispy (make sure to leave the oven cracked open when broiling or else the meatballs will be overcooked

    -Let cook for a few minutes and then enjoy!

    IMG_0604

    Notes: I like chicken livers because they have a more mild taste than beef liver. I have not tried beef liver in this recipe yet but once I do I will update this post with the results! Also, make sure you are using high quality chicken livers, just like the rest of the meat from the animal, organs of poorly fed and maintained animals should be avoided! Look for locally sourced, organic, pasture raised chickens without hormones or antibiotics. If you live in western mass check out Sutter Meats or River Valley Market if you can’t get to a local farm. If you have a meat grinder feel free to use that to grind up the liver. If not, a sharp knife will work just fine. Also- If you are not avoiding FODMAP’s try adding some sautéed onions and grated garlic to the meatballs! Yum!

    Not Your Average Pizza (Paleo, AIP, LowFODMAP, 21DSD)

    What better way to celebrate the end of my first Crossfit Open than with some pizza?! Don’t worry I kept it paleo, of course. I know I haven’t posted much at all lately so I’ll use this post to briefly sum up my workouts and experience.

    Out of the 5 Open’s workouts I ended up doing 15.1 and 15.3 scaled. I chose to do them scaled because I was coming back from an injury and a reoccurring pinched nerve in my neck. When the opens began I couldn’t hold anything overhead with snatch grip without excruciating pain in my right trap, and the muscle that I pulled in my back was at about 85%. Prior to the opens I had been doing strictly squats (I followed the Smolov Jr. squat program) to let my back and shoulder heal. My mindset going into the opens was to listen to my body and only do things that wouldn’t put me at risk for re-injury. Looking back I think I made the right decisions in deciding which workouts I had to do scaled, but I also know that I am capable of doing them RX’d and plan on taking them on again in the future.

    The last two workouts were mentally challenging for me. 15.4 was the only workout I did twice. The first time I attempted 15.4 I hadn’t done a handstand pushup in… months. Even when I did do them in the past I wasn’t very good! I hadn’t practiced before the workout, I was coming off of a long week of work and I was mentally and physically pretty exhausted. I ended up struggling so bad with the HSPU that I only got 6 reps total. For some reason I just couldn’t figure out how to get my feet to hit the wall and stay there! It was the first workout were I have ever felt defeated. The next day I came into the gym and got some lessons on HSPU technique from Heath, the owner of our gym, which helped tremendously. The following monday I attempted the workout for the second time with Heath as my judge, who carefully planned out when I should make HSPU attempts and how long I should rest to be successful at those attempts. I ended up with a score of 15 which is more than double my first attempt. Still nothing to write home about but it was a mental accomplishment for me and it helped give me some perspective on how to navigate workouts like that without getting frustrated.

    The last workout of the Opens was a doozy. With there only being a few movements left to choose from, its no surprise that it was thrusters and rowing! A little background on my history with those movements: rowing drains the living daylights out of me, and thrusters give me flashbacks to the first (and only) time I did Fran, as the final workout of a competition that I completely bombed… It also happened to be when my back was still injured and all I remember was pain and embarrassment. So, if you could catch my drift, this is one workout I was not looking forward to. On the bright side, I took the lesson I learned from 15.4 and tried applying it to this workout by taking friday and saturday to work on thrusters, improve my technique, and put some time in on the rower. When Monday rolled around I felt slightly better about the workout but I still had anxious thoughts that I was battling. I went into the workout with a planned rep scheme that ended up going out the window as soon as I started the thrusters but my overall goal was to stay calm and keep the thrusters feeling strong. I ended the workout in 13:38. Overall I am glad its over and also very thankful to have had a great coach (thanks Alice!) who helped keep me calm and focused.

    At the end of the day I have learned a lot of lessons from this Open competition! I still have a long ways to go and many things to work on, including my own anxiety when it comes to competition and things that I am not that good at. I came in 2,134 out of 11,255 women in the North East region, not bad for my first opens, room to grow for sure. I am looking forward to seeing how much I can improve in a year, starting with getting stronger!


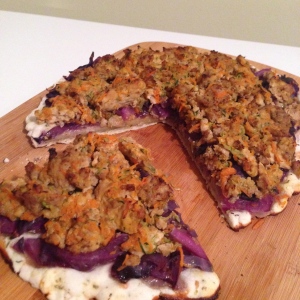
    Now, back to that whole pizza thing. This recipe was based off of some delicious cabbage wrapped dumplings that I made from the 21 day sugar detox cookbook. Its essentially a deconstructed dumpling on top of a crispy, crunchy, nut and egg-free crust.

    Ingredients:

    For the crust:

    • 1 1/2 cups tapioca or arrowroot flour
    • 1/2 cup full fat coconut milk
    • 2 TB. coconut oil
    • 1-2 TB. water
    • 1 TB. italian seasoning
    • 1/2 tsp. sea salt
    • (optional add-ins if you aren’t worried about FODMAP’s: 2 TB. onion, finely chopped and 2 cloves of garlic)

    For the toppings:

    • 1 lb. ground pork
    • 1 lb. ground turkey or chicken
    • 1 medium zucchini, shredded
    • 2 medium carrots, shredded
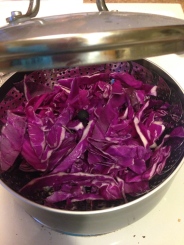
    • 2 cups red cabbage, chopped and steamed
    • 2 TB. coconut aminos
    • 4 drops fish sauce
    • 2 TB. coconut oil
    • 1/2 tsp. sea salt
    • pepper to taste

    Instructions:

    -Preheat oven to 500 degrees and place your cast iron skillet in oven to heat up

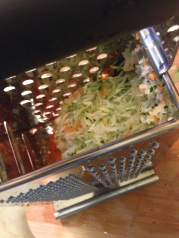
    -While oven is heating, steam cabbage and grate carrots and zucchini with a box grater or mandolin

    IMG_0708

    IMG_0710

    -In a large skillet over medium-high heat melt coconut oil and sauté carrots and zucchini for 2-3 minutes

    -Add pork and chicken or turkey, coconut aminos, fish sauce, salt and pepper to the skillet and cook until no pink remains in the meat

    IMG_0712

    -While meat is cooking, prepare the crust

    -In a small pot heat coconut oil, coconut milk, water and salt until warm

    -Add the wet ingredients to the flour in a large bowl and kneed with your hands to combine

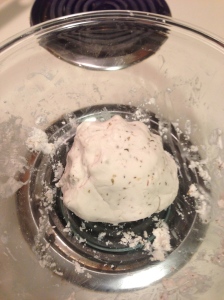
    -Add in italian seasoning and continue mixing until a large ball of dough forms (you may need to add some extra water)

    IMG_0715

    -Remove *PIPING HOT* cast iron skillet from the oven and very carefully roll out the dough into a large crust in the pan. I usually keep my oven mits on when doing this to ensure that i don’t burn my hands

    IMG_0716

    -Then add steamed cabbage and meat toppings and bake in 500 degree oven for 12-15 minutes

    -Cut and enjoy!

    IMG_0732


    Healing Bone Broth Latte (Paleo, AIP, LowFODMAP, 21DSD)

    This week I feel like I’ve been running around like a chicken with my head cut off. Thankfully I wrote myself a handy list of all the things I need to accomplish and exactly when they need to be done by, or else I would be a mess! Today was another one of my days off- it sure seems like I have a lot of those seeing as I usually write a blog post when I get a day off! And by day off I mean: I baked most of the day. For those of you that haven’t read my background information, I started a paleo baked goods business (Primal Treats and Eats) and although it’s more of a hobby than a business it tends to occupy much of my spare time, and I’m okay with that! Between all the hustle and bustle today I got to get some workout therapy at CFIW. I did a fun WOD today that was 10 RTF of 3 squat cleans at 100# and 9 ring dips. I planned on going heavier with the squat cleans but had to remind myself that slowly getting back into lifting is a much smarter approach if I want to stay healthy and keep my shoulder happy. I often find that whenever I get myself into a situation where I feel overwhelmed or unsure of things, out of the blue I will stumble upon something that reinstates my purpose and keeps me on track.

    Although I am not where I think I could be in terms of my overall fitness and strength, I have learned a lot about myself and my body this past year. I got this gem of a photo sent to me today by my lovely friend Maura who has been snapping awesome pictures of everyone throughout the opens workouts and inspiring us with her spirit and endless support. After sending it she said “You are motivation!” and I couldn’t have been more flattered. On top of that the quote really resonates with me as I have been fighting an uphill battle with trying to reverse my autoimmune diseases. There were quite a few times where I had to remind myself that staying on track with the hundreds of dietary restrictions and saying no to eating foods made by anyone but myself was the only option.

    IMG_0369

    After my baking marathon today I got to clear my head with a crisp, windy hike up Mount Tom with my friend Josh. Its amazing what some fresh air can do for you! I am looking forward to spring when I can include some sort of outdoor activity into my daily routine again.

    IMG_0350


    If your wondering how the heck you can make bone broth into a deliciously creamy and healthy latte, keep reading. 🙂

    Most of you know that I drink bone broth every day, up to 3 times a day. It’s a staple in my life and I don’t enjoy living without it! I have made many variations of broth, some with root veggies, some with onions, others just garlic, there is much room to experiment and find what you personally like the best. I have to say that the recipe that I posted is pretty plain, and my personal favorite because you can “dress it up” and make some fantastic cocktails out of it.

    Who would have ever thought to use the word cocktail when it comes to bone broth… but seriously, try the recipe below and you will see what I’m talking about!

    Ingredients:

    Instructions:

    -Heat bone broth in a small pot on the stove

    -Place coconut oil and coconut milk in a large coffee mug

    -Add bone broth to the coffee mug and allow the coconut oil to melt

    -Then add baking soda, cinnamon and ginger and blend using a frother (or blender)

    IMG_0357

    IMG_0360

    -Enjoy your “bulletproof” broth latte!

    IMG_0362

    *Why baking soda,? check out this article!

    PBLT Burgers (Paleo, AIP, LowFODMAP, 21DSD)

    This week is panning out to be a long one! It’s only tuesday and I’m feeling a little run-down already, luckily I have the day off tomorrow and hope to get some relaxing in between baking, errands, vet visits and the gym. I’ve started to work my way slowly back into lifting and doing some controlled WOD’s on a more regular basis and it seems to be going well! My back is completely healed now and my shoulder hasn’t been getting the shooting-intense pain that it was before, just resting annoying dull pain… I know that doesn’t sound good either but it’s what I’ve been dealing with on and off for over a year now. Between chiropractic, electric stim, low level laser therapy, massage and now also acupuncture, its GOT to get better! Please??

    Anyways, I made this recipe about a week ago while I was i the midst of perfecting my pork belly recipe. At Jake’s we have a “Spicy PBLT” with pork belly, lettuce and tomato. Seeing as nightshades are a group of foods that I likely will ever be able to reincorporate into my diet, I thought I would come up with my own version of a “PBLT”. So, the Pork Belly, Lettuce and Turkey Burger was born! This has got to be the best turkey burger I have ever had… I hope you enjoy it as well!

    Ingredients:

    • 1 lb. ground turkey
    • 1/2 lb. pork belly
    • 1 cup spinach
    • 1/2 cup scallions, finely chopped
    • 1/4 cup jicama, peeled and shredded
    • 1 tsp. rosemary
    • 1/2 tsp turmeric
    • 1/4 tsp. sea salt

    Instructions:

    -Follow my recipe below for crispy pork belly, after braising the pork belly and letting it cool in the fridge, cut into desired sized pieces, cut off the skin and pan sear the pork belly until the fat has rendered off. This should take about 15 minutes so plan accordingly!

    -Preheat oven to 350 degrees

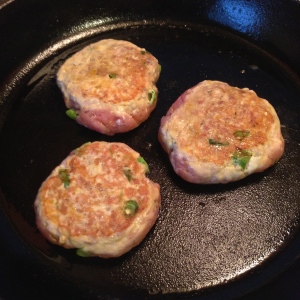
    -In a large bowl combine the ground turkey, scallions, jicama, rosemary, turmeric and sea salt. Mix with hands to incorporate and then separate into three 1/3lb. patties.

    -In a cast iron skillet over medium-high heat sear the turkey patties for 5 minutes per side.

    IMG_0020

    -Place the skillet with burgers into the oven and bake for 5-10 minutes until no pink remains in the center

    -Remove from oven and garnish with a large slab of pork belly, and some sautéed spinach. If your feeling up for it add a sweet potato bun or wrap in a large leaf of lettuce.

    IMG_0026

    IMG_0036

    Enjoy!

    Notes: These burgers can also be cooked on the grill… mine just didn’t happen to be accessible at the time!

    Crispy Pork Belly (Paleo, AIP, LowFODMAP, 21DSD)

    If you have never tried pork belly, my friend and boss, Alex will tell you it’s “bacon’s older, wiser and more handsome brother”. It’s every bacon lover’s dream come true: bigger, yummier, juicier bacon! It’s the perfect topping for burgers and salads or in benedict’s for breakfast (as you will notice if you ever stop into Jake’s.. Pork belly is all over the menu!)

    Pork belly isn’t one of those things that you can easily find at the supermarket but if you stop into your local butcher they will more often then not have some, or tell you when it will be available. This recipe has been a long time coming for me. I absolutely love pork belly and when I found out I could get some at Sutter Meats I was thrilled! I’m not going to lie I tried to make it a few different ways, taking some ideas from recipes I had seen online and pointers from the butcher on how to cook it, but I just never go the results that I wanted. At Jake’s we have perfectly cooked crispy pork belly and although it took me 3 tries, I finally got the same results! (Thank you Alex for your cooking tips!)

    I will say where I went wrong was by thinking I could cook the pork belly in a short period of time (aka have it ready by the time my burgers were done cooking) and thats just not possible! This recipe requires a lot of prep and a lot of cooking time but its SO worth it. Give it a shot!

    The steps:

    1. Make Pork Broth
    2. Cure Pork Belly
    3. Braise Pork Belly
    4. Sear Pork Belly

    Total time needed is approximately 3 days. You can make the pork broth in the crockpot (24 hrs) while you are curing the pork belly (3 days) and on the last day allow about 6 hours to cook, cool and sear the pork belly.

    Ingredients:

    • 1/2 lb. pork belly with skin
    • 1 tsp. sea salt
    • 1/2 tsp. freshly ground black pepper
    • 1/4 tsp. coriander
    • 1/8 tsp. cinnamon
    • 1/8 tsp. cloves
    • 1/4 tsp. ground fennel (optional, omit for AIP)
    • 2 cups pork broth (use the same recipe as my bone broth but swap the marrow bones for pork bones)

    Instructions:

    -First and foremost, make sure you have pork broth and a few days to make the pork belly before you need it!

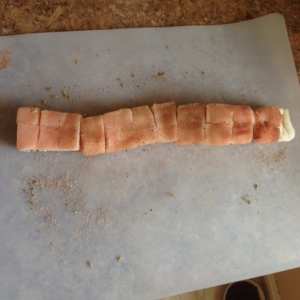
    -Score the skin side of the pork belly with a sharp knife, be careful because although the skin is though, the layer of fat below it cuts very easily!

    IMG_0220

    -Combine sea salt, black pepper, coriander, cinnamon, cloves and fennel in a small bowl

    -Rub herb mixture into the pork on all sides

    IMG_0222

    -Let the pork cure in the refrigerator for 3 days on a wire rack

    -On day 3, rinse the pork belly, cut into desired sized chunks and place it in a stock pot (one that has a lid)

    IMG_0265

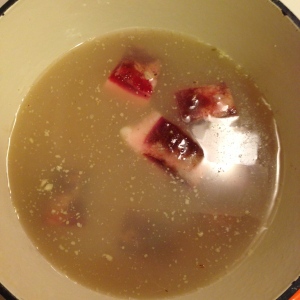
    -Cover pork belly with pork broth and place it in a 250 degree oven, covered, for 4-5 hours

    IMG_0266

    -Remove from oven and let cool in the refrigerator

    -Once chilled, remove the pork belly from the braising liquid and cut the skin off of each piece

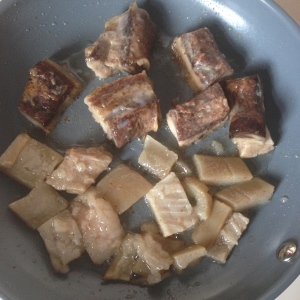
    -Sear the skin and pork belly in a skillet over medium heat until the skin is crispy and most of the fat has rendered off of the pork belly

    IMG_0291

    -Save the fat to cook with!

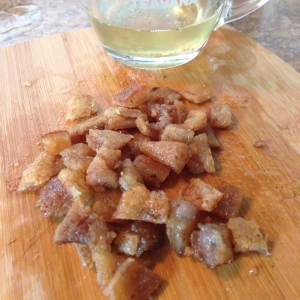
    Notes: The pieces of skin will get nice and crispy! These are called “cracklings” and I like to use them as crunchy snacks, croutons on salads, or chop them finely to use as a garnish for plates that can use a kick of flavor and a little crunch! I think they got their name because they are probably as addicting as crack… seriously, you will see!

    IMG_0300

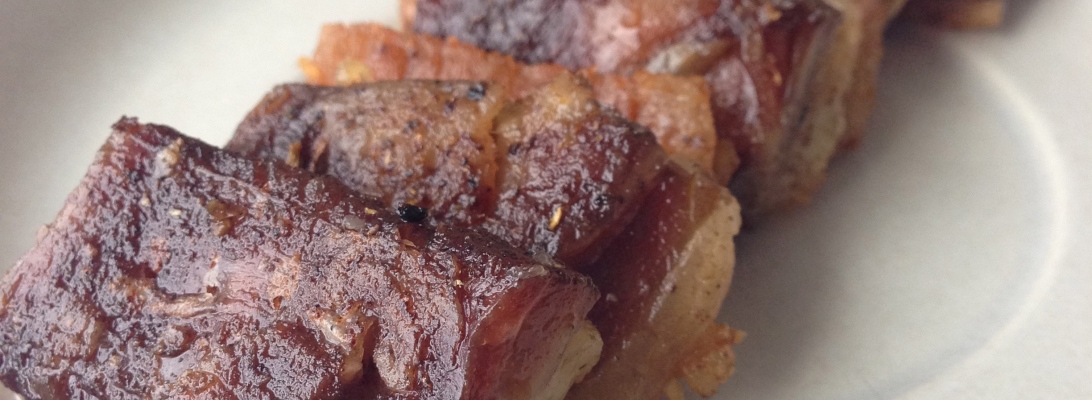
    Pork Belly Slices

    IMG_0301

    Bonus cracklin’s and bacon fat 🙂

    Homemade Horseradish (Paleo, AIP, LowFODMAP, 21DSD)

    Today was a great day. I got to the gym early this morning to take on the Open’s workout 15.3. As usual I had an internal battle going on of whether or not I should do the RX’d version of the workout or not. The smarter side of me prevailed and I chose to go with the scaled version for several reasons. The most obvious being that my shoulder is still working its way back to 100% but is not there yet. Secondly,I don’t have muscle ups yet and attempting one for 14 minutes seemed silly to me (although I probably could have pulled one off). Finally, I really just wanted to get good a workout in! I ended up with 793 reps and a whole handful of no-rep air balls… did I mention I suck at wall balls? The thing I love about Crossfit is that there is constant room for improvement, and boy do I have a lot of improving to do!
    IMG_0242

    Post WOD floor bonding time


    After working out and judging my teammates for most of the morning I went home to find that my latest lab results finally came in the mail. Side note: I don’t know why they mail them… calling and e-mailing seems to be a much more efficient option.. but thats just me! The overall results were that everything was good but my ANA (autoimmune disease) was unchanged. Bummer. After meeting with my doctor the other day though I don’t feel discouraged by this, he said that sometimes it takes up to a year to see the an ANA get back to negative. We will see what happens I guess, but the fact that I feel much better is the result that matters.

    While I was chatting with my doctor we ended up talking about the supplements that I was taking and he asked me how I was handling the liquid fish oil (DHEA/EPA). The only answer I could come up with was a slightly disgusted and unimpressed kind of look. I have absolutely despised taking fish oil supplements since I was younger, the aftertaste seems to always get to me even though this new brand of fish oil is super high quality and not nearly as fishy as the ones i’ve had in the past. So he told me that he normally “chases” his fish oil with a pinch of homemade horseradish, which obviously masks the taste, while waking the sh*t out of your senses, and additionally helps cleanse the liver. So I thought what the heck, I will try anything once! Which lead me to make this super simple horseradish. Like many other condiments that come packed with preservatives, sugar, and other added junk, this is a super easy one to make at home where you can be assured that you are only consuming high quality ingredients.

    Ingredients:

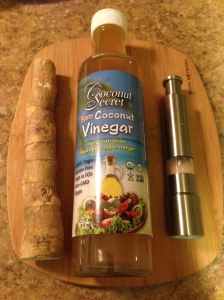
    • 1/2 cup horseradish, peeled and diced
    • 1/3 cup coconut vinegar
    • 1/8 tsp. sea salt

    Instructions:

    -Place the diced horseradish, coconut vinegar and salt in a food processor

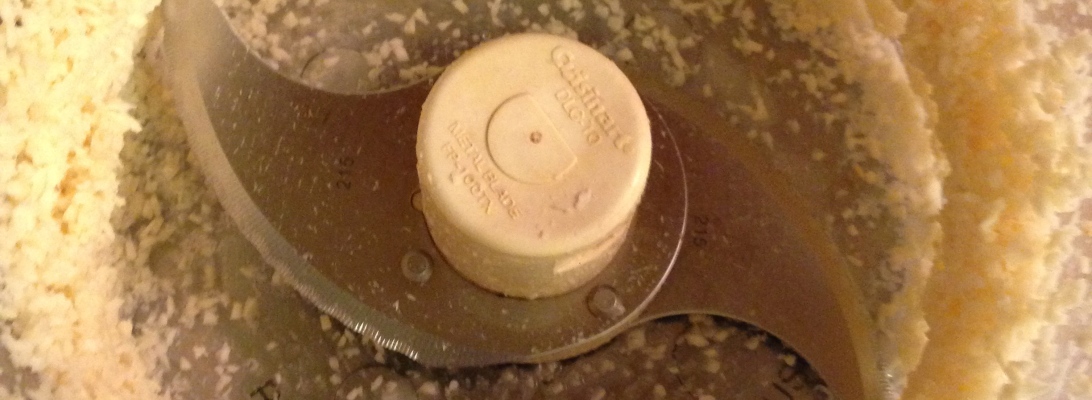
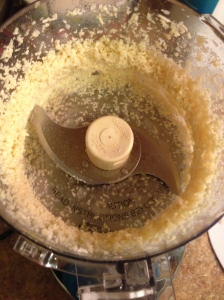
    -Process until you have reached your desired consistency or until smooth

    -Thats it! Seriously, how much easier could it get?

    IMG_0254

    IMG_0255

    IMG_0256

    Now that I have tried the fish-oil-followed-by-hroseradish, I can see why it works well. I also suddenly have a craving for oysters… 🙂